
Although this is my first post, it has been about two weeks since I started my jun making. I wanted to make sure I came out with two good batches resembling the taste profile stated by other jun makers. Up until now everything has turned out great and I have to say, although I like regular Kombucha, I love the taste of Jun!!! I used this basic recipe (provided from Kombucha Brooklyn) with the purchase of my SCOBY:
12 grams Organic Gunpowder Green Tea (or 5-6 tea bags)
3/4 cup Raw Honey
1 gallon of Water
Leave Brew for 5-8 Days (taste after 5)
*Be sure to leave room at the top of the jar for the SCOBY to grow
This is how my SCOBY came packaged with the simple directions and starter Jun:


These are the ingredients I used, based off of the basic recipe. I started with 4 fl cups of filtered water as the base for my tea brew. Since I did not have gunpowder green tea on hand I used an organic monkey paw green tea and some jasmine pearls. As long they are organic, you can use a variety of different green teas for various flavors. White tea is also acceptable for Jun making as it accents the flavor, however green tea is preferred and usually used. Once you get the hang of it, experimenting is always the fun part!!!

Your ingredients should always be organic or raw(unpasteurized) to preserve the life of your scoby. Tea leaves are sprayed with pesticides just as fruit and vegetables are, and remember your scoby is a living entity based on bacteria and yeast. Just like pesticides can hurt the human body it can also hurt your scoby. Crappy Scoby = Crappy Jun… and no one wants crappy Jun!!!
The honey I used is a raw honey from nearby hives. The great thing about Jun, and it’s use of honey instead of sugar, is that honey tastes vary by region and climate… just like grapes for wine making. Honey is also sustainable and supports local businesses and depleting bee colonies. Being used for centuries, raw honey is even known to have amazing health benefits. Since regular kombucha scobys use sugar, not honey, they do not have these unique qualities.
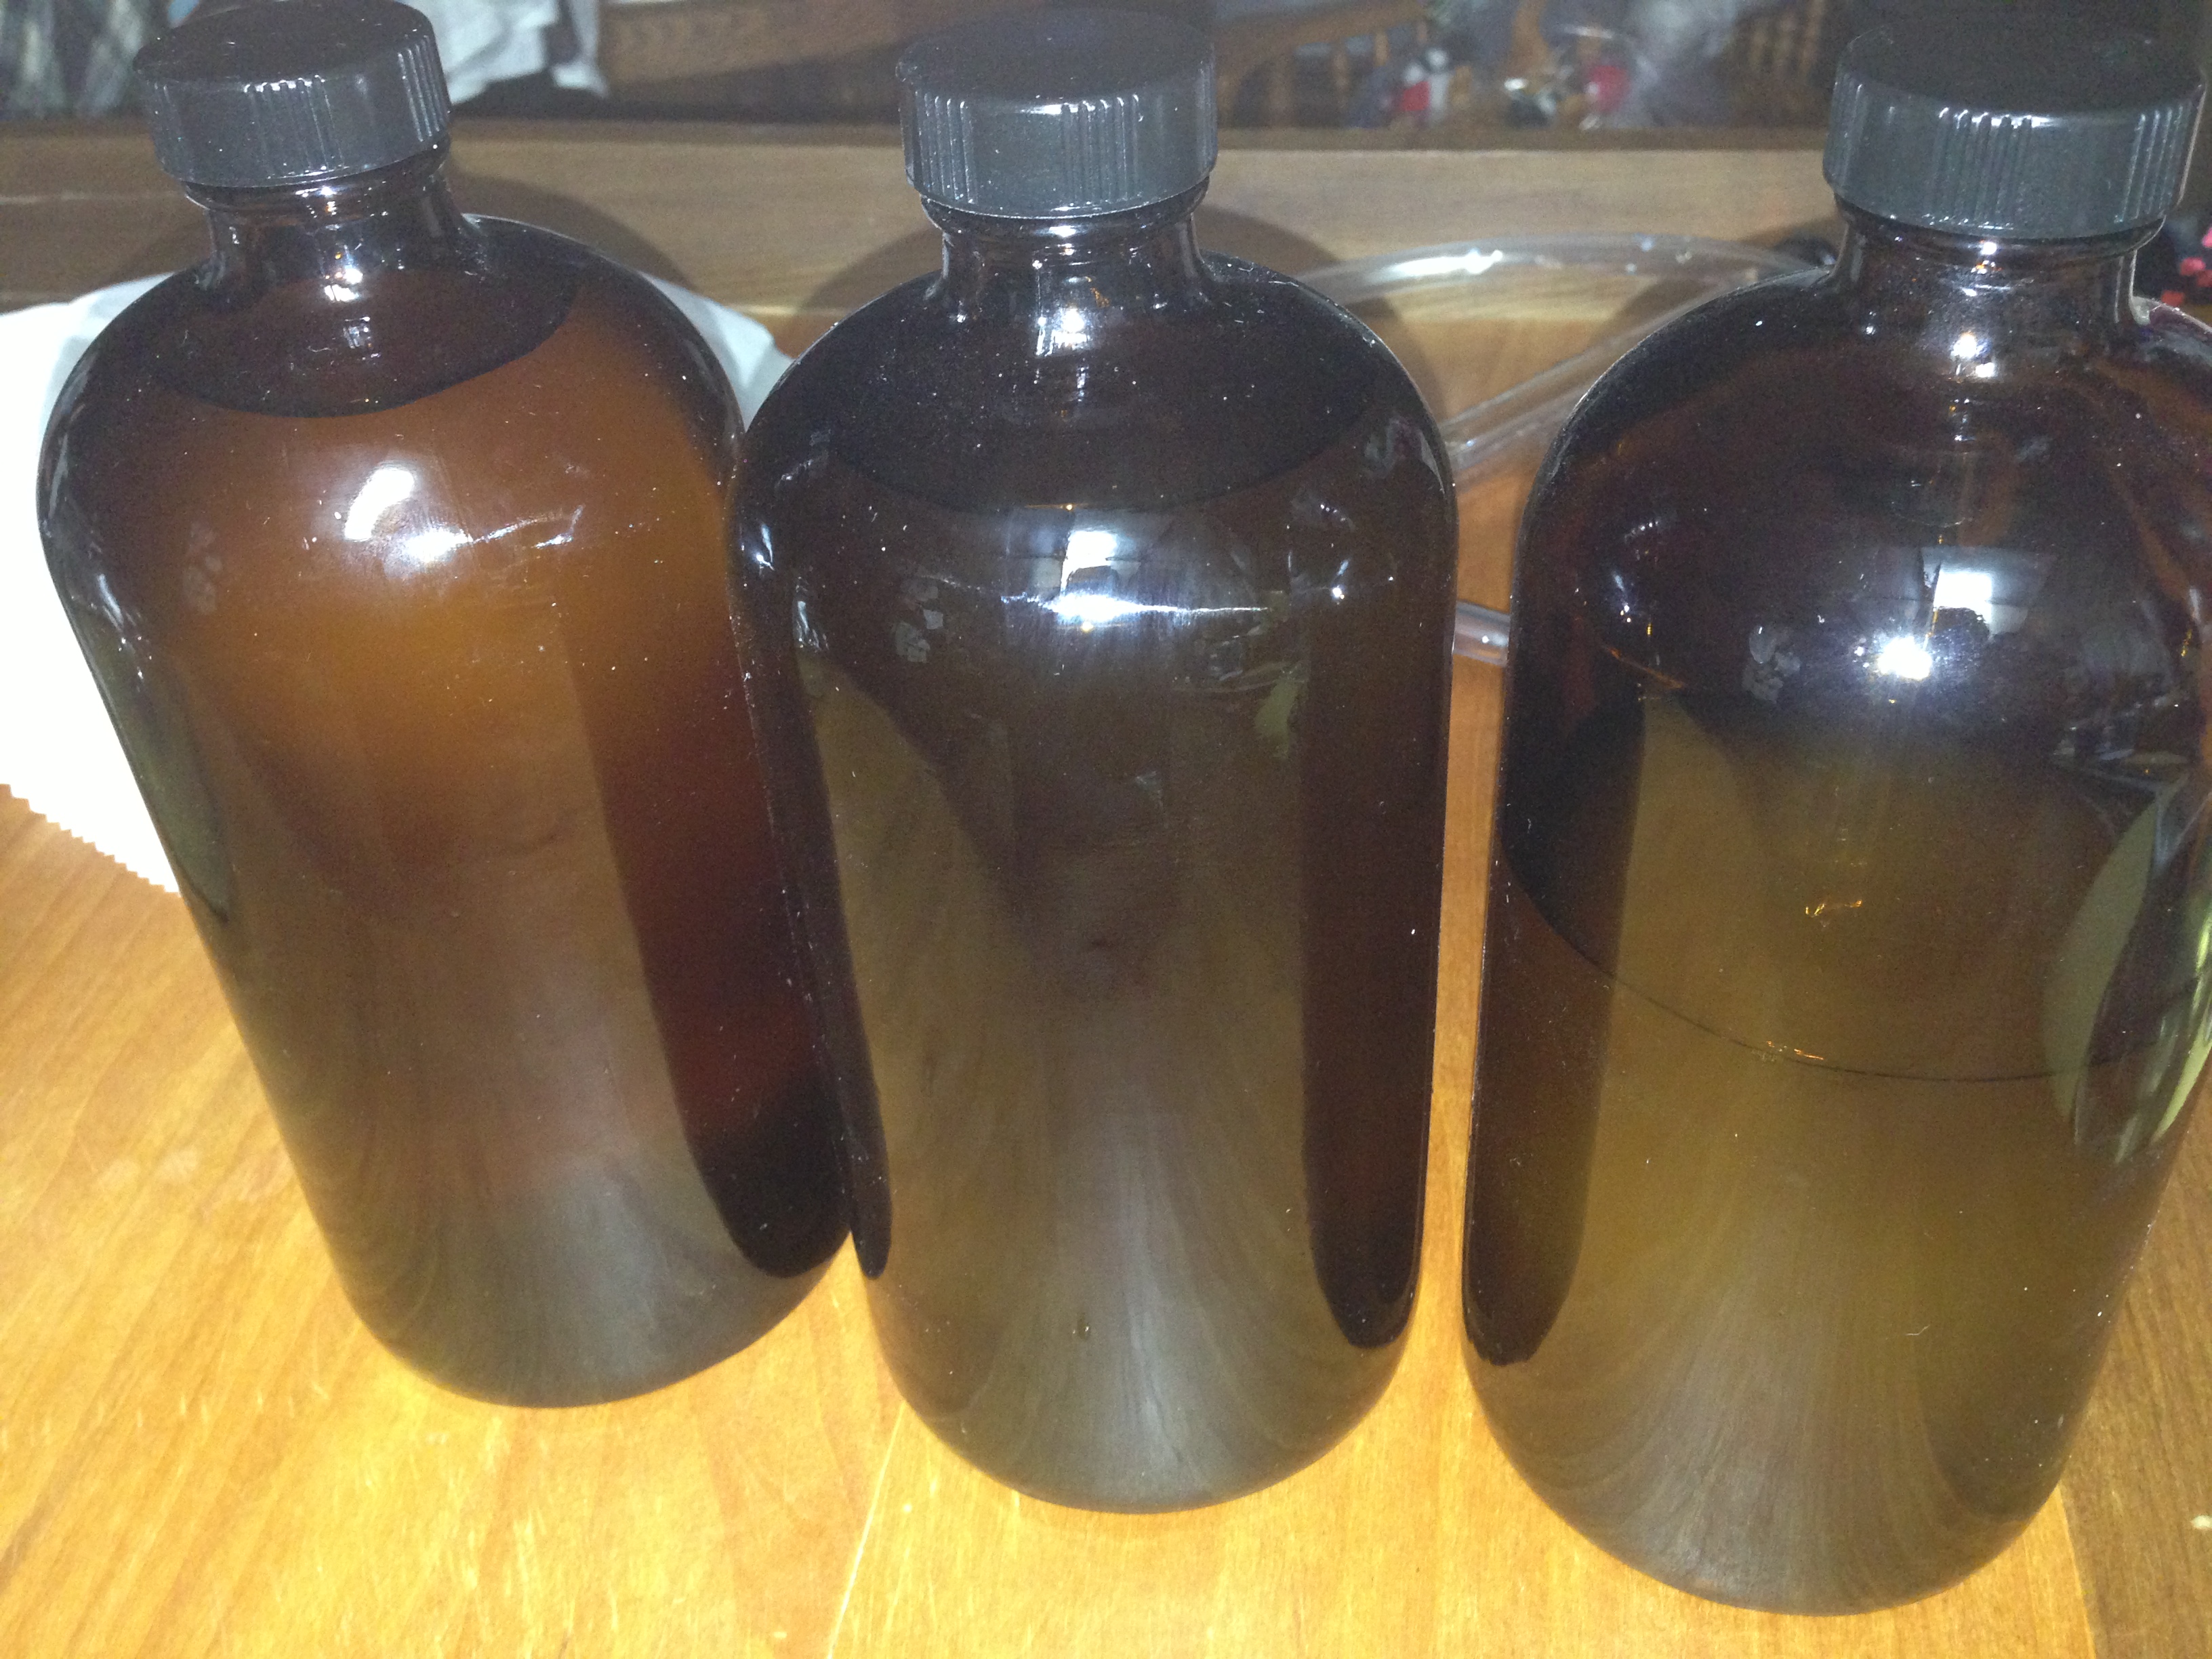
The equipment needed for brewing your jun include a fermentation vessel, a cloth vessel cover and bottling containers for after your jun is done fermenting. Your fermentation vessel should only be made out of glass or ceramic. (Metal will break down due to the acidic nature of the mixture and the fermentation process) To start you will need a 1 gallon container. Every scoby ferments about 1 gallon of mixture in approximately 5-8 days, and every brew grows a new scoby. So, you can increase the gallon amount you’re brewing if you have more scobys at a later time. For covering your vessel, you will need a clean piece of cloth or cotton. You will secure this with rubber bands. This will release the gas created by the fermentation process while preventing harmful bacteria or pathogens from contaminating your jun mixture. For after you’re jun is finished brewing, you will need glass vessels for bottling. I use half gallon amber growlers, however you can use mason jars or flip top bottles. Use anything that has an air-tight, secure lid, as these will serve as storage bottles where CO2 will build up to make your jun fizzy and carbonated.

Brewing Directions:
-
Bring 4 cups of filtered water to a low boil and remove from heat
- Add either loose leaf (12 grams/3 tsp) or tea bags (5-6 count) to the water and let steep until the water is tepid (lukewarm) in temperature
- Strain leaves from tea if using loose leaf or remove tea bags
- Dissolve the 3/4 cup of raw honey into the tepid tea
- Empty mixture into your clean brewing vessel
- Add your jun starter, approximately 2 cups (provided with your scoby purchase or from your last batch), Fill the remaining 1 gallon of your brewing vessel with cool, filtered water, up to an inch from the top
- Add your scoby, cover your vessel with cloth and secure with rubber bands

- Place your brewing vessel in an area between 68-84 degrees F (I place mine next to the heater)
- Start taste testing about 4 days into brewing, batch should be ready in 5-8 days (with a pH below 4) and should have the taste of a mild arnold palmer with a light mead wine mouth feel (At this point you should have a new scoby growing at the top of your fermentation vessel)
- Once the brew is ready pour into air-tight storage bottles and let sit for another 1-3
 days to build up carbonation (remember to save about 2 cups of your brew and a starter for your next batch)
 - Once ready and to your liking place in the refrigerator for storage, this will slow the fermentation process and preserve your beverage for about a months time : )
Tips:
- The pH of optimal Jun is below 4. For my first brew, I used pH strips (pictured above) to test the batch. This is not necessary but does come in handy as a method of double checking.
- Sometimes a batch will become moldy and ruin the jun and the scoby. In order to prevent this rinse off your tools and brewing vessels with almost boiling water. This will kill most unwanted bacteria and yet, not leave any harmful residue like soap or cleaning products. However, watch if the glass container you’re using is not tempered, they may crack with this method.
- Handle your scobys with clean hands
- A great tool for bottling your Jun is a small or mini auto-siphon. While a funnel and ladle are completely sufficient, an auto-siphon makes the process quick and easy and also more sanitary for your beverage.
